
How to Compress a Video for Instagram Reels Without Losing Quality
Compress video for Instagram Reels without mushy details: target bitrates, balanced presets, 1080×1920 exports, and when to shrink file size before upload.
Instagram Reels will re-compress whatever you upload — but starting with a reasonable file size and bitrate prevents the “double soup” look: blocky skies, muddy skin tones, and smeared text you cannot fix after posting.
Think of compression as choosing how much detail you keep before the platform touches the file — not how small you can make it for email.
Quick size reference
| Platform | Format | Size | Ratio | Notes |
|---|---|---|---|---|
| Instagram Reels | Vertical master | 1080×1920 | 9:16 | Preferred upload |
| Instagram Reels | Acceptable draft | 540×960 | 9:16 | Faster edit, softer detail |
Why pre-compress Reels if Instagram compresses again?
Platforms apply their own encoders, but huge source files (4K screen recordings, 200 Mbps exports) force aggressive downscaling and bitrate slashing. A balanced 1080×1920 master near 8–20 MB gives Instagram a sane starting point.
Pre-compression also saves upload time on mobile data and reduces failure mid-upload on long clips.
The goal is not the smallest possible file — it is the smallest file that still looks sharp on a phone at arm’s length.
Settings that actually matter for Reels
Resolution: export 1080×1920 (9:16) when your source supports it. Compressing a landscape file without cropping wastes pixels on letterboxing.
Bitrate: for talking-head and UI content, roughly 2–4 Mbps video at 30 fps is a practical balanced zone before Instagram’s pass. Heavy motion (fitness, gaming) needs more headroom; static slides need less.
Frame rate: 30 fps is the social default. Dropping to 24 fps saves size but can stutter on fast hand movement — test one clip before batching.
Audio: 96–128 kbps AAC is enough for voice and bed music on Reels. Ultra-high audio bitrates rarely improve perceived quality on phone speakers.
Instagram video compressor workflow in the browser
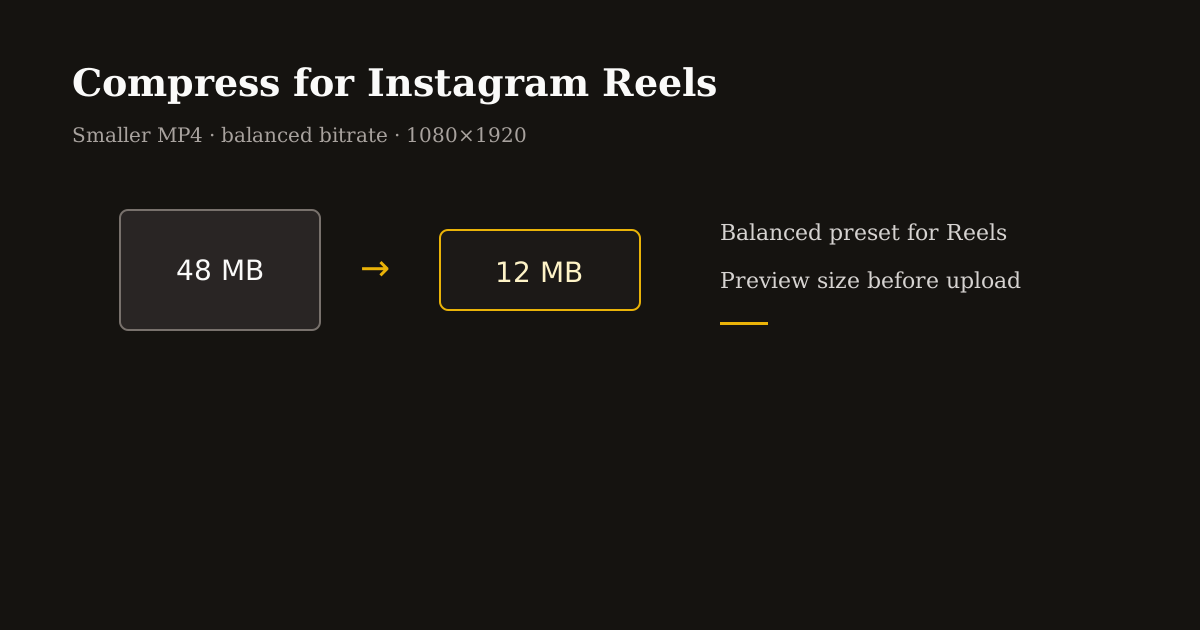
Open MP4 Compressor, upload your edited reel, and choose Balanced for most organic posts — it targets social-friendly bitrates without the harsh artifacts of “max compress.”
Check estimated output size before export. If the preview shows heavy banding in skies or gradients, step up to High quality or reduce motion blur filters before compressing again.
Use resolution caps (720p max) only when you must hit a hard size limit — client WhatsApp approvals, email gates, or slow hotel Wi-Fi — not for flagship launches.
Export MP4, watch once on your phone at 100% brightness, then upload to Reels. Add captions and music in Instagram after upload if that is your publishing flow.
Quality checklist before you publish
Text and logos: pause on a frame with small type. If edges look fuzzy pre-upload, Instagram will not sharpen them.
Skin and skies: banding here means bitrate too low — bump quality or shorten clip length instead of crushing size further.
Hook frame: compression hits high-motion openings hardest. Trim dead air before compress so bits spend on the first two seconds viewers see.
Avoid compressing the same file twice through different online tools. One deliberate pass beats two accidental ones.
Frequently asked questions
- What is the best file size for Instagram Reels?
- There is no magic number — aim for a sharp 1080×1920 MP4, often roughly 8–25 MB for 30–60 seconds of talking-head content after balanced compression.
- Will compressing video reduce quality on Reels?
- Some loss is inevitable, but balanced bitrates minimize visible damage. Over-compressing before upload makes Instagram’s second pass look worse.
- Should I compress 4K video before Reels?
- Crop to 9:16 and downscale to 1080×1920 first. Uploading 4K vertical forces the platform to throw away data aggressively.
- Can I compress MP4 in the browser?
- Yes. Reels Editor MP4 Compressor runs locally with quality presets and size estimates before download.