
How to Add a Logo to a Video Without Losing Quality
Add logo to video and watermark video online without blurry edges: transparent PNGs, safe zones, scale rules, and a single high-quality MP4 export for creators and agencies.
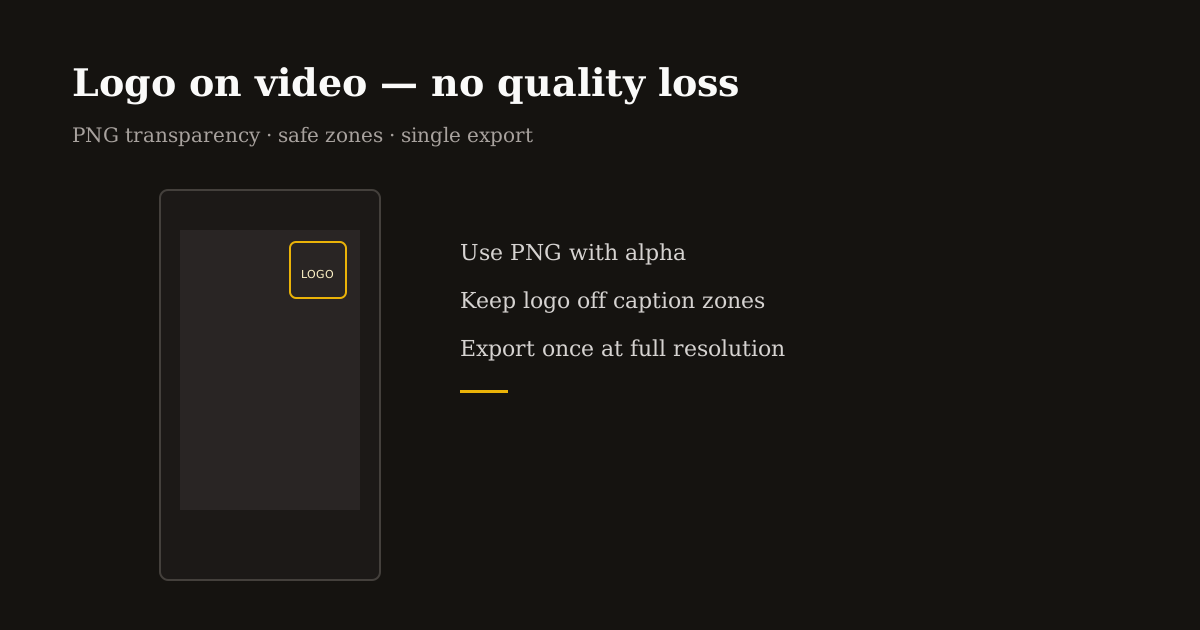
A logo burned in too large, too low, or exported through three apps looks amateur — and re-encoding the same reel repeatedly makes it worse. Agencies and creators need the same thing: crisp brand marks that survive mobile compression.
This is a quality-first workflow for watermarking vertical video in the browser: one transparent PNG, one deliberate placement, one export at full resolution.
Start with the right logo file
Use PNG with transparency. White logos on dark video and dark logos on bright scenes both fail when you use JPG with a visible white box.
Export the master logo at 2× the pixel size you expect on screen — e.g., if the mark displays around 120 px wide on a 1080-wide frame, source art near 240 px keeps edges sharp after scaling down.
Avoid thin hairline strokes below 2 px at final display size. Reels compression eats fine lines; slightly bolder wordmarks read clearer on phones.
Placement and safe zones for Reels, TikTok, and Shorts
Default to upper-left or upper-right corners inset from edges — roughly 5–8% padding from top and side. Bottom corners fight caption bars; lower-right is the noisiest on TikTok because of engagement buttons.
Scale logos to 8–15% of frame width for episodic series branding — visible but not a billboard. Campaign launches can go larger for a week, then return to a subtle bug for feed consistency.
Preview on a phone, not only on a 27-inch monitor. If you cannot read the logo at arm’s length, it is too small; if it covers the speaker’s eyes, it is too big.
Add logo to video online — single-export workflow
Open Logo Editor, upload your vertical MP4 (crop to 9:16 first if the source is landscape), then upload your PNG logo.
Drag to position, set scale percentage, and wait for the preview to finish updating. Avoid exporting while the preview is still processing — you want the frame you saw.
Export MP4 once at full canvas resolution. That single encode preserves detail better than adding a logo in App A, compressing in App B, and uploading to Instagram which compresses again.
For still thumbnails or cover frames, apply the same PNG in Logo Editor on an image export path or reuse identical coordinates across episodes so the grid looks intentional.
Agency and batch tips
Lock placement and scale across a client series — same corner, same size every episode. Consistency reads as professional even when content topics change.
Deliver two masters when needed: a clean no-logo file for paid ads that supply their own end cards, and a branded file for organic social.
Document safe zones in the client brief (1080×1920, logo upper-right at 12% width) so freelancers do not invent new positions per clip.
Pair with Compress MP4 only after branding if file size matters — not before — so the logo is encoded once with the final bitrate you chose.
Common quality mistakes to avoid
Re-scaling video smaller before adding the logo, then upscaling on upload — always brand at the delivery resolution.
Semi-transparent logos below 70% opacity on busy backgrounds — they shimmer after compression. Prefer solid marks or a subtle solid pill behind text.
Animated GIF logos on every frame — use static PNG bugs for most reels; motion logos belong in intros under three seconds, not full-duration watermarks.
Frequently asked questions
- Does adding a logo reduce video quality?
- One export at full resolution with a PNG overlay preserves quality. Multiple re-encodes through different apps cause the blur people blame on the logo.
- What is the best logo format for video watermarks?
- PNG with transparency. SVG is great for source art — export to PNG at 2× display size before overlaying on MP4.
- Where should I put a watermark on a Reel?
- Upper-left or upper-right with padding, away from bottom captions and TikTok’s right-side buttons.
- Can I watermark video in the browser privately?
- Yes. Reels Editor Logo Editor processes locally without requiring an account.