
How to Remove Background from a Video Online
Remove background from video online without guessing: green screen, PNG cutouts, sticker overlays, and when AI photo cutouts beat full-frame video matting for Reels and Shorts.
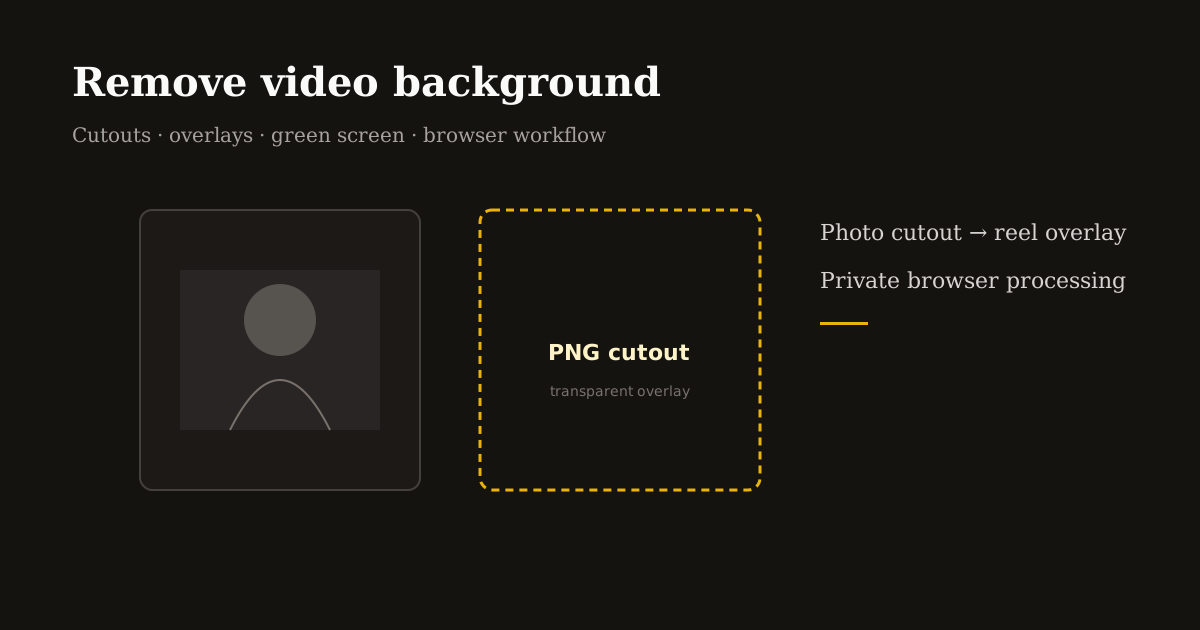
“Remove background from video online” sounds like one button, but the honest answer depends on how your footage was shot. A talking head on a plain wall needs a different workflow than a product on a busy street or a presenter recorded on green screen.
This guide separates what works in a browser today — cutouts, overlays, and prep steps — from heavy AI video matting that still belongs in desktop NLEs. You will leave with a repeatable workflow and links to the Reels Editor tools that handle each step locally.
Three real approaches to “background-free” video
Full-frame AI matting removes the background from every frame of motion video. It can look great on simple clips but costs compute, time, and often a cloud upload. Browser tools rarely match dedicated apps frame-for-frame on hair, motion blur, or glass.
Green screen (chroma key) is the classic fix when you control the shoot: record on a solid color, key it out, and composite. If you already have green-screen footage, any editor with keying wins — but most phone creators do not shoot that way.
Cutout + overlay is the practical middle path for social video: remove the background from a still (product, logo, presenter photo) or a short sticker, then place that transparent PNG on top of your reel with timing. The video underneath stays intact; the “background removal” happens on the asset you overlay.
Step-by-step: photo cutout → overlay on your reel
When you need a person or product floating over B-roll, export a PNG cutout first. Open Remove Background, upload a sharp JPG or PNG of the subject, and download the transparent PNG. Processing runs locally in your browser — useful for client products and unreleased launches.
Next, open Add Image on Reel with your vertical MP4. Add the PNG as an overlay, set start/end times on the timeline, position it with the 9-point grid, and scale until the subject feels natural against the footage. Export MP4 when the preview matches your intent.
This pattern covers most “remove background from video online” searches for creators who actually publish: sticker-style presenters, product pop-ins, logo bugs, and reaction images — without pretending one AI slider fixes shaky handheld video.
When to shoot green screen instead of fixing it later
If you batch talking-head tips weekly, a collapsible green screen behind you saves hours. Record 1080p or 4K landscape, key the background in your NLE, then crop to 9:16 for Reels. The key is even lighting — wrinkles and shadows in the screen become noisy edges.
For B-roll that must stay full-frame (gym, kitchen, street), do not fight automatic matting. Keep the environment, blur sensitive areas if needed, and use cutout overlays only for graphics — not for replacing every pixel behind a moving subject.
Hybrid episodes work well: full-frame location video for authenticity, PNG cutouts for callouts, prices, and arrows that would clutter the scene if burned in permanently.
Quality checklist before you export
Start from the highest-resolution source you have. A fuzzy 720p cutout enlarged on a 1080×1920 reel will look soft no matter how good the matting is.
Feather edges sparingly on PNG overlays — heavy glow looks cheap on mobile. Prefer a crisp cutout with consistent lighting direction matching your base video.
Check safe zones: TikTok and Reels UI covers bottom captions and the right edge. Place floating cutouts upper-left or upper-right so buttons never hide your subject’s face or product label.
Export once at 9:16 (1080×1920 when possible). Re-encoding the same clip through multiple “background remover” apps stacks compression and creates banding around former background edges.
What not to expect from a free browser workflow
You will not get Hollywood rotoscoping on a 60-second handheld vlog in one click. Hair on busy backgrounds, reflective glasses, and fast whip pans still need dedicated tools or reshoots.
If your goal is a fully transparent ProRes file of a dancer on location, use a pro matting plugin or studio shoot. If your goal is a clean product pop-in on a recipe reel, the cutout + overlay workflow above ships faster and stays private.
Match the tool to the job: Remove Background for still cutouts, Add Image on Reel to composite them, Resize Video when your base footage is still landscape.
Frequently asked questions
- Can I remove the background from a full MP4 in the browser?
- Full-frame AI video matting is limited in browsers. For social publishing, cut out the subject as a PNG and overlay it on your reel, or shoot green screen and key in a dedicated editor.
- What file format should I use for a cutout overlay?
- PNG with transparency. JPG cannot carry an alpha channel, so edges will show a white box on video.
- Does Remove Background upload my photos?
- No. Reels Editor processes images locally in your browser for background removal.
- Will overlays work on Instagram Reels and TikTok?
- Yes. Export a standard MP4 from Add Image on Reel and upload to Reels, TikTok, or Shorts like any other edit.