Reels Editor — strumenti gratis di foto e videoReels Editor
  • Strumenti
    Immagine
    • Sfoca immagine
    • Ridimensiona immagine
    • Rimuovi sfondo
    • Ritaglia immagine
    • Pixelizza immagine
    Video
    • Modifica Reels online
    • Ridimensiona video
    • Taglia video
    • Filtri video
    • Transizioni
    • Editor logo
    • Aggiungi immagine al Reel
    • Accelera video
    • Compressore MP4
    • Aggiungi audio
    Convertitori
    Video in GIF
    • MP4 in GIF
    • Video in GIF
    • MOV in GIF
    • WebM in GIF
    Formati immagine
    • PNG in JPG
    • JPG in PNG
    • PNG in WebP
    • WebP in PNG
    • JPG in WebP
    • WebP in JPG
    • HEIC in JPG
    • HEIC in PNG
    Tutti i convertitori
    Vedi tutti gli strumenti →
  • Guide
    Guide definitive
    • Creare un Reel virale🔥 In evidenza
    • Modificare immagini per un blog
    • Modificare Reels online
    • Dimensioni Reels Instagram
    • Montaggio video TikTok
    • YouTube Shorts
    • Branding Reels
    Vedi tutte le guide →
  • Modifica Reels online
  • Blog
  • Ridimensiona video
Reels EditorStrumenti gratis di foto e video
Principale
Tutti gli strumentiModifica Reels online
Immagine
Sfoca immagineRidimensiona immagineRimuovi sfondoRitaglia immaginePixelizza immagine
Video
Modifica Reels onlineRidimensiona videoTaglia videoFiltri videoTransizioniEditor logoAggiungi immagine al ReelAccelera videoCompressore MP4Aggiungi audio
Convertitori
Tutti i convertitoriMP4 in GIFVideo in GIFMOV in GIFWebM in GIFPNG in JPGJPG in PNGPNG in WebPWebP in PNGJPG in WebPWebP in JPGHEIC in JPGHEIC in PNG
Guide definitive
Tutte le guideCreare un Reel virale🔥 In evidenzaModificare immagini per un blogModificare Reels onlineDimensioni Reels InstagramMontaggio video TikTokYouTube ShortsBranding Reels
Risorse
Blog
Reels Editor

Strumenti gratis di foto e video nel browser per Instagram Reels, TikTok e YouTube Shorts.

I tuoi file non lasciano mai il browser.

© 2026 Reels Editor

Strumenti popolari

  • Rimuovi sfondo dalle immagini
  • Aggiungi immagine al reel
  • Sfoca immagine online
  • Ridimensiona video per Instagram
  • Taglia video online
  • Aggiungi logo al video
  • Applica filtri video online
  • Compressore MP4 online
  • Converti MP4 in GIF online
  • Converti PNG in JPG online

Risorse

  • Guide
  • Blog
  • Centro assistenza
  • Modifica Reels online
  • Chi siamo

Legale

  • Privacy policy
  • Termini e condizioni
  • Contatti
Home/Blog/How to Compress a Video for Instagram Reels Without Losing Quality
← Back to the blog

Table of contents

  1. Why pre-compress Reels if Instagram compresses again?
  2. Settings that actually matter for Reels
  3. Instagram video compressor workflow in the browser
  4. Quality checklist before you publish
Resize video to these sizes →
Format GuideAug 22, 2026

How to Compress a Video for Instagram Reels Without Losing Quality

Compress video for Instagram Reels without mushy details: target bitrates, balanced presets, 1080×1920 exports, and when to shrink file size before upload.
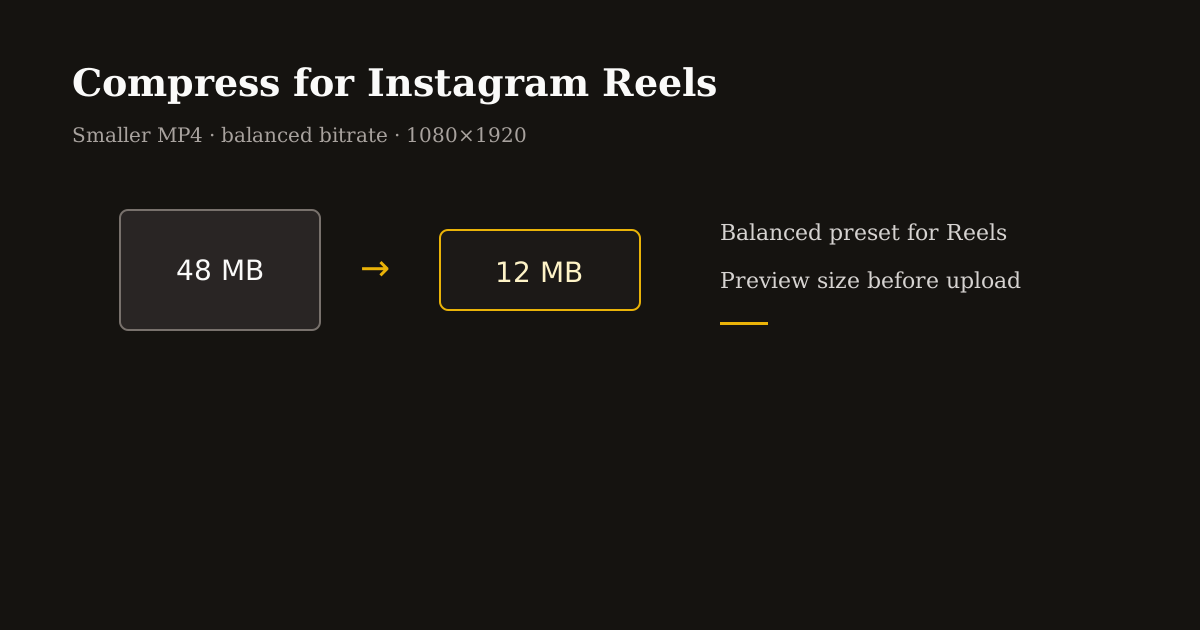
Leaner MP4 sized to clear Instagram upload limits

Instagram Reels will re-compress whatever you upload — but starting with a reasonable file size and bitrate prevents the “double soup” look: blocky skies, muddy skin tones, and smeared text you cannot fix after posting.

Think of compression as choosing how much detail you keep before the platform touches the file — not how small you can make it for email.

Quick size reference

PlatformFormatSizeRatioNotes
Instagram ReelsVertical master1080×19209:16Preferred upload
Instagram ReelsAcceptable draft540×9609:16Faster edit, softer detail

Why pre-compress Reels if Instagram compresses again?

Platforms apply their own encoders, but huge source files (4K screen recordings, 200 Mbps exports) force aggressive downscaling and bitrate slashing. A balanced 1080×1920 master near 8–20 MB gives Instagram a sane starting point.

Pre-compression also saves upload time on mobile data and reduces failure mid-upload on long clips.

The goal is not the smallest possible file — it is the smallest file that still looks sharp on a phone at arm’s length.

Settings that actually matter for Reels

Resolution: export 1080×1920 (9:16) when your source supports it. Compressing a landscape file without cropping wastes pixels on letterboxing.

Bitrate: for talking-head and UI content, roughly 2–4 Mbps video at 30 fps is a practical balanced zone before Instagram’s pass. Heavy motion (fitness, gaming) needs more headroom; static slides need less.

Frame rate: 30 fps is the social default. Dropping to 24 fps saves size but can stutter on fast hand movement — test one clip before batching.

Audio: 96–128 kbps AAC is enough for voice and bed music on Reels. Ultra-high audio bitrates rarely improve perceived quality on phone speakers.

Instagram video compressor workflow in the browser

Open MP4 Compressor, upload your edited reel, and choose Balanced for most organic posts — it targets social-friendly bitrates without the harsh artifacts of “max compress.”

Check estimated output size before export. If the preview shows heavy banding in skies or gradients, step up to High quality or reduce motion blur filters before compressing again.

Use resolution caps (720p max) only when you must hit a hard size limit — client WhatsApp approvals, email gates, or slow hotel Wi-Fi — not for flagship launches.

Export MP4, watch once on your phone at 100% brightness, then upload to Reels. Add captions and music in Instagram after upload if that is your publishing flow.

Quality checklist before you publish

Text and logos: pause on a frame with small type. If edges look fuzzy pre-upload, Instagram will not sharpen them.

Skin and skies: banding here means bitrate too low — bump quality or shorten clip length instead of crushing size further.

Hook frame: compression hits high-motion openings hardest. Trim dead air before compress so bits spend on the first two seconds viewers see.

Avoid compressing the same file twice through different online tools. One deliberate pass beats two accidental ones.

Related reading

  • WorkflowHow to Resize a Video for Instagram ReelsResize a video for Instagram Reels in the browser: pick 1080×1920 (9:16), reframe any source, skip black bars, then export MP4 before you upload.
  • GuideInstagram Reel DimensionsInstagram Reel dimensions are 1080×1920 (9:16). Compare Reels vs Stories vs 4:5 feed crops, caption safe zones, and export settings that stay sharp.
  • GuideBest Reel Size Guide (2026)The best reel size in 2026 is 1080×1920 (9:16). Use this guide for Instagram, TikTok, and YouTube Shorts — plus safe margins and export tips.
  • GuideHow to Convert a Horizontal Video to Vertical 9:16Convert horizontal video to vertical 9:16 without black bars: crop 16:9 to 9:16, reposition subjects, blur-fill backgrounds, and export for Reels, TikTok, and YouTube Shorts.

Frequently asked questions

What is the best file size for Instagram Reels?
There is no magic number — aim for a sharp 1080×1920 MP4, often roughly 8–25 MB for 30–60 seconds of talking-head content after balanced compression.
Will compressing video reduce quality on Reels?
Some loss is inevitable, but balanced bitrates minimize visible damage. Over-compressing before upload makes Instagram’s second pass look worse.
Should I compress 4K video before Reels?
Crop to 9:16 and downscale to 1080×1920 first. Uploading 4K vertical forces the platform to throw away data aggressively.
Can I compress MP4 in the browser?
Yes. Reels Editor MP4 Compressor runs locally with quality presets and size estimates before download.

Scopri di più

Tools to apply this guide

Editor foto e video gratuiti — privati, nel browser, senza account.

  • Compress MP4 and video onlineShrink large clips with a free MP4 compressor that also works as a video compressor and lightweight video converter.→
  • Resize videos for InstagramResize videos online for Instagram Reels, TikTok, YouTube Shorts and other social platforms.→
  • Export video to MP4Every Reels Editor tool exports MP4 files optimized for Instagram Reels, TikTok, and YouTube Shorts.→