
How to Edit Reels with AI — Step-by-Step Workflow
Learn how to edit reels with AI without losing quality: repurpose long video, fix framing in the browser, add captions, and export 1080×1920 for Instagram and TikTok.
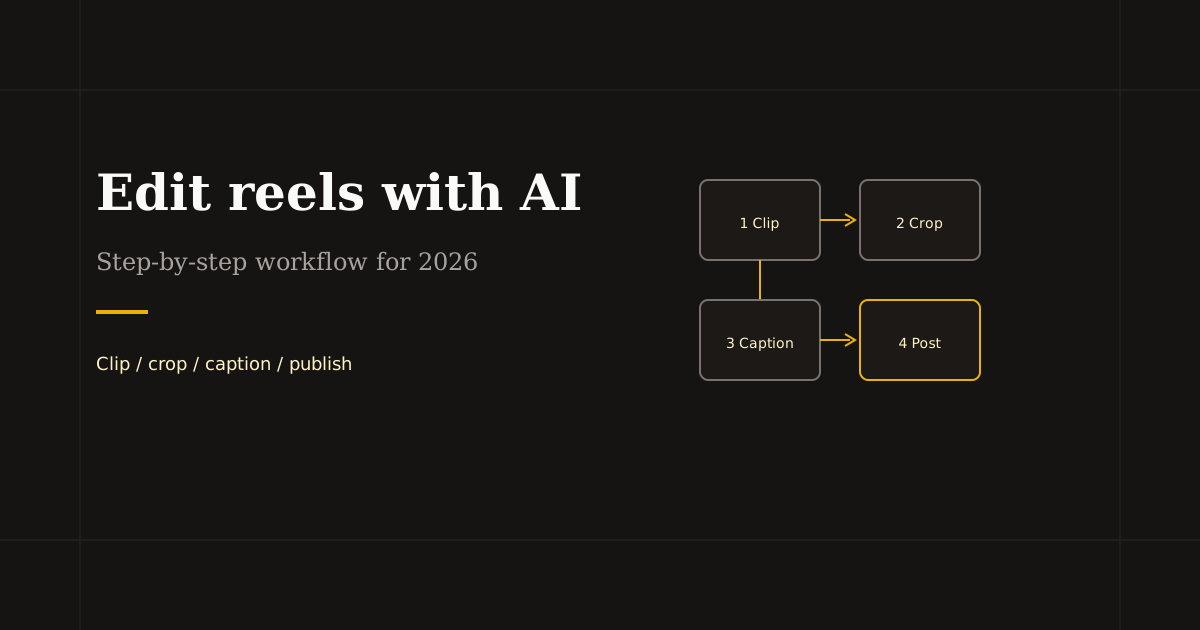
Editing reels with AI is not one button — it is a chain. AI finds clips or writes captions; you still own framing, brand, and the first two seconds. This workflow keeps each step in the right tool so you ship faster than fighting a single app for everything.
Step 1 — Start with usable source footage
AI clip tools need clear audio and stable exposure. Record talking-head or screen content at the highest resolution you have; repurposing AI will crop to vertical later.
If you already have a short clip, skip repurposing AI and jump to Step 3 — do not over-automate a fifteen-second video.
Step 2 — Let AI draft clips (optional)
Upload long video to a repurposing tool (Opus Clip, Vizard, etc.). Review suggestions — keep clips with a complete thought in the first second, not just a high “viral” label.
Export candidates as vertical MP4 or download and reframe manually if the AI crop misses faces or slides.
Step 3 — Crop, trim, and brand in the browser
Open each keeper in Reels Editor: Resize to 1080×1920 with safe margins, Trim dead air and weak openings, Add Logo if needed, Add Image for product overlays with timeline timing.
This step is where AI workflows win or lose — a sharp hook and correct 9:16 beat a dozen auto-generated clips with chin-cropped speakers.
Step 4 — Captions: burn-in or platform
Burn captions in CapCut, Descript, or VEED when style matters and you want mute-proof text. Use Instagram or TikTok auto-captions after upload when you want native styling and less export time.
If you use platform captions, leave the lower third clearer during browser crop — do not place logos where captions will sit.
Step 5 — Publish and iterate
Upload the final MP4, add trending audio in-app if required, write hook text in the caption, and track hold rate. Feed winners back into your template: same crop margins, same caption path, same trim rules.
AI should shrink iteration time, not remove taste. Change one variable per batch — hook text, opening frame, or caption style — so you learn what moved metrics.
Frequently asked questions
- What is the easiest way to edit reels with AI?
- Use repurposing AI for long video, then crop and trim in a browser editor, then add captions in CapCut or on-platform. Three steps, three tools, faster than one overloaded app.
- Do I need AI to edit reels?
- No. Short clips you record vertically only need trim, optional logo, and export. AI helps most when repurposing podcasts or webinars.
- Where does Reels Editor fit in an AI workflow?
- After AI picks the clip — for private 9:16 crop, trim, logo, and MP4 export before upload to Instagram or TikTok.
- What reel size should I export after AI editing?
- 1080×1920 (9:16) for Instagram Reels, TikTok, and YouTube Shorts.